A Common Question Further Explained…
How do you light a tree with landscape lighting? Well…that’s a trick question. Not every tree is created equal and not every tree calls for the same application as the next. We’re here to help explain.
Where we are located in Charleston, South Carolina, we see a wide variety of trees on our projects ranging from live oak trees, palmetto trees, crape myrtles and olive trees just to name a few. Whether it be new construction where newly planted trees have been installed or it’s an existing landscape where trees have had years to blossom and mature, our knowledgeable design staff is always prepared for the best design techniques to best illuminate your trees.
In this blog post, we’re going to show you a beautiful live oak tree illuminated in three very different ways.
Let’s start with the most basic method.
Flooding:
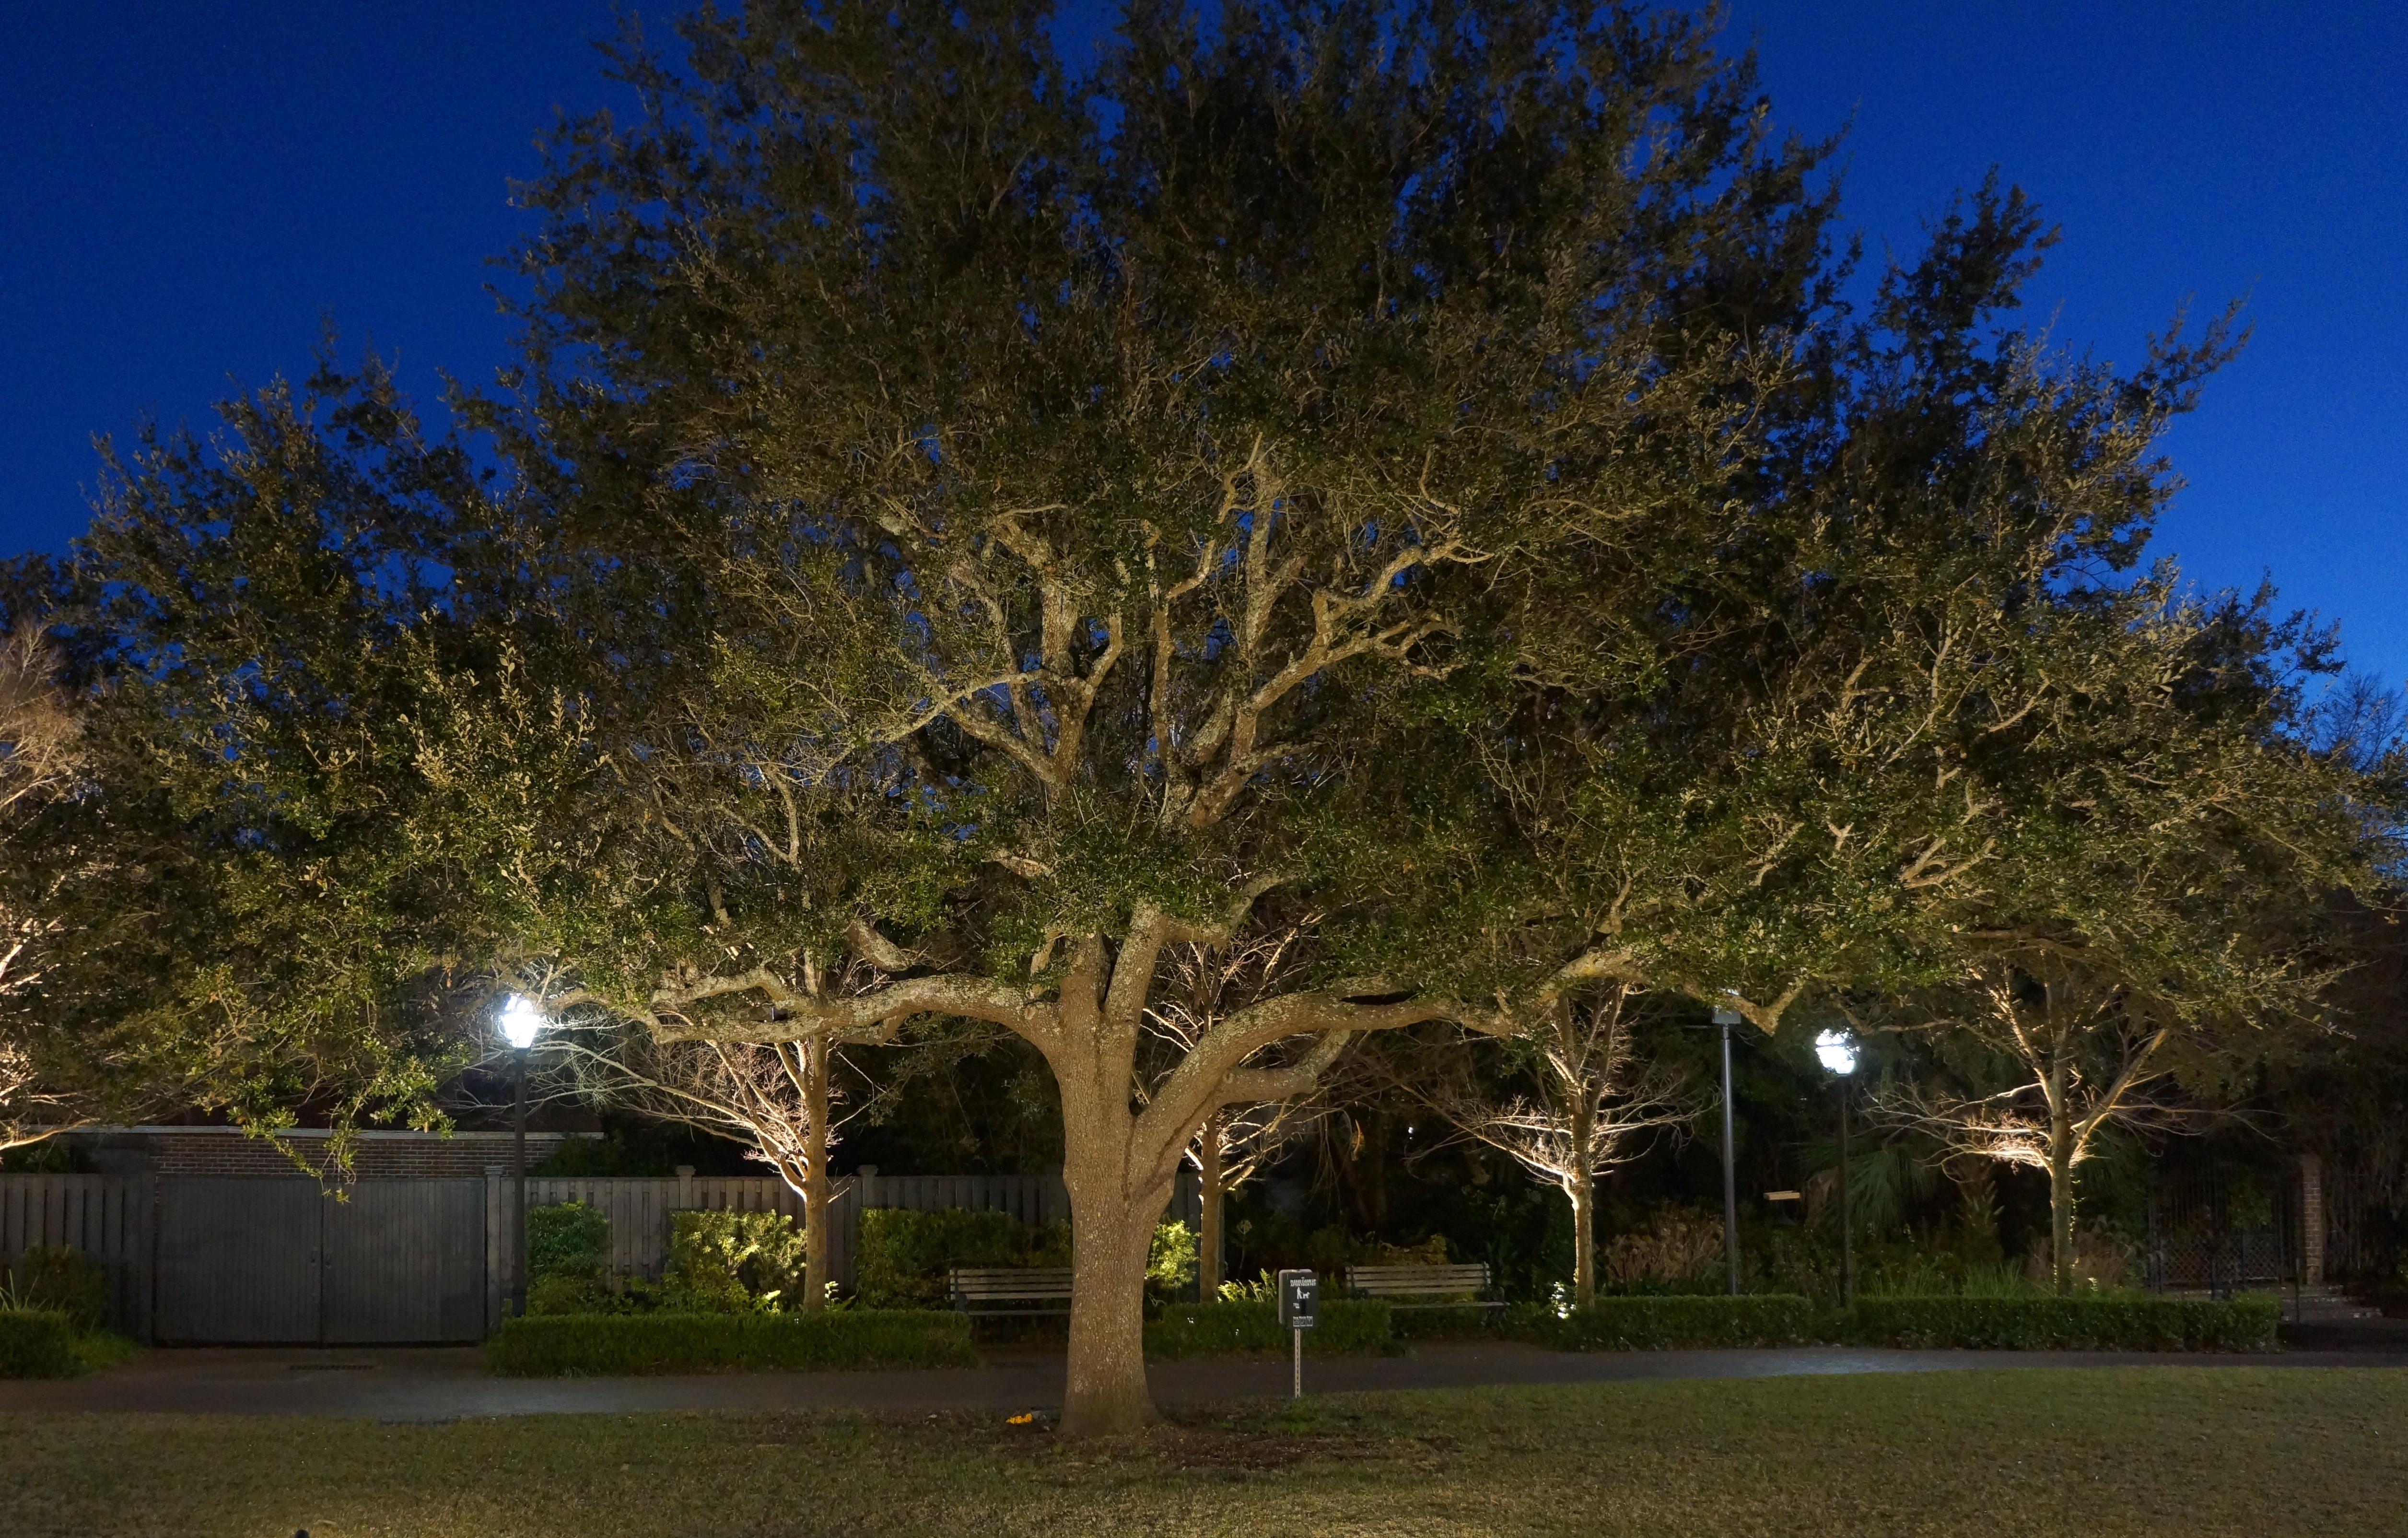
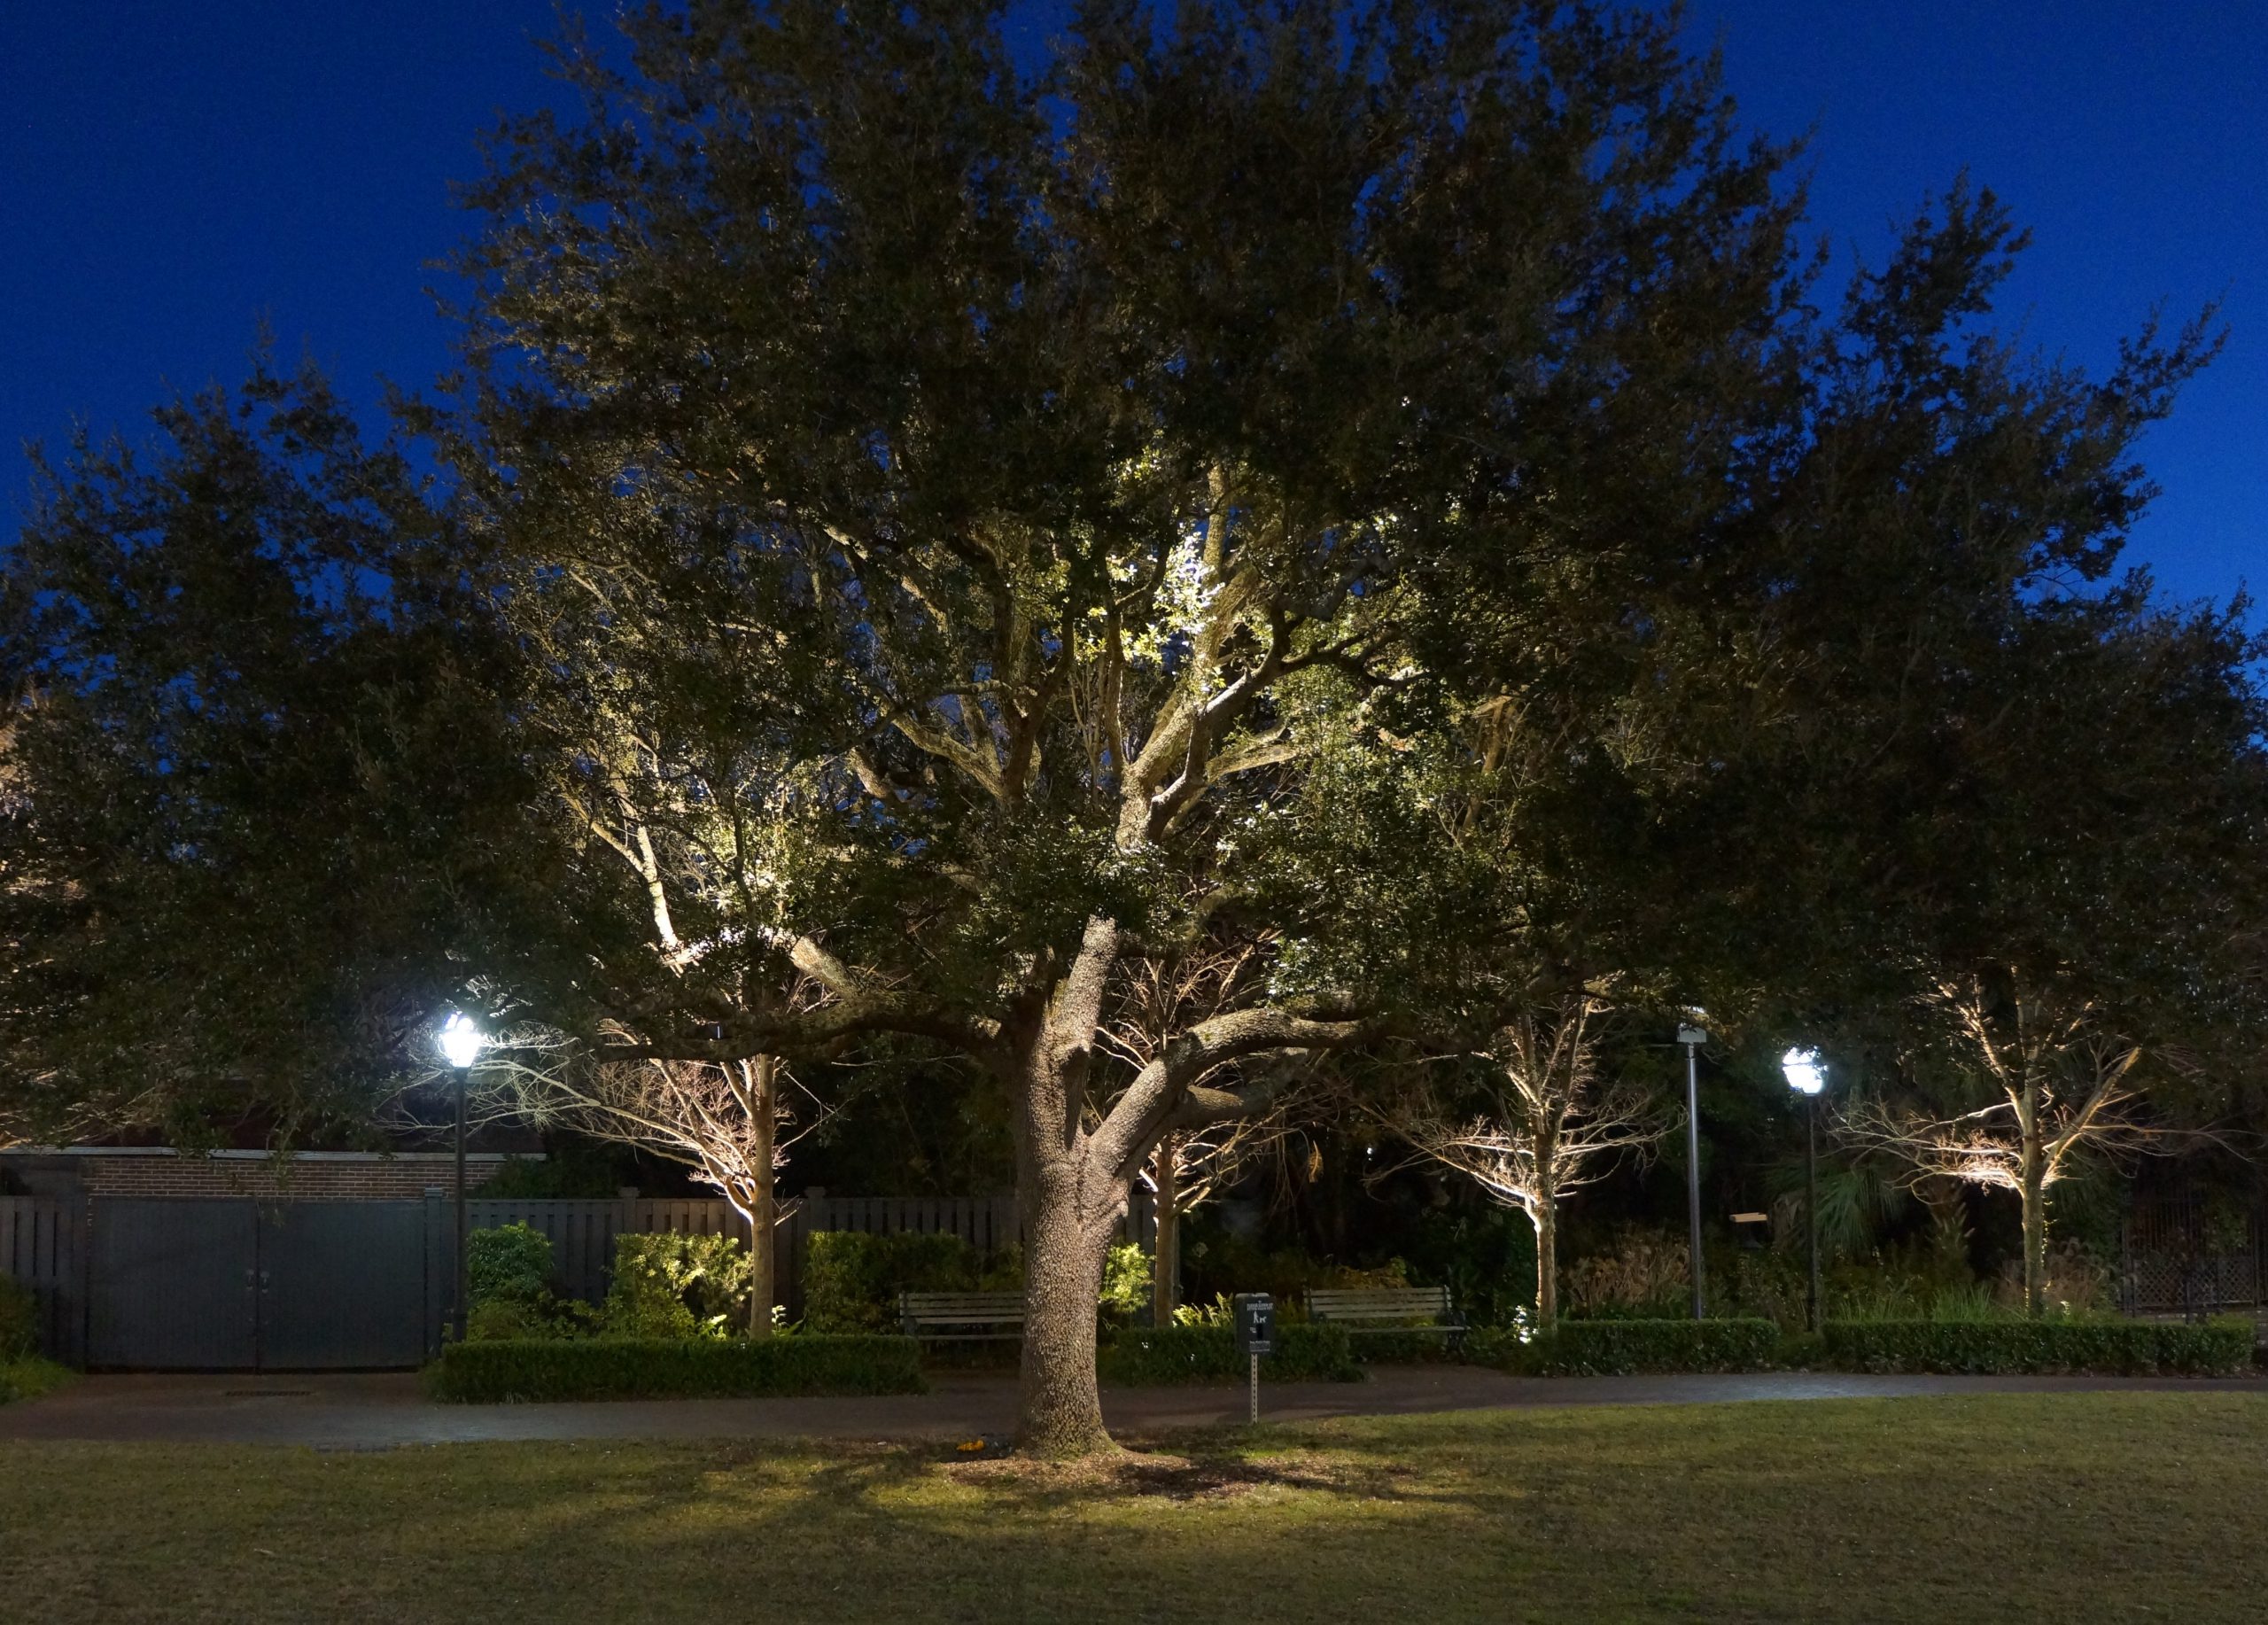
In this photo we have positioned three fixtures on the ground, about 30′ away from the tree and aimed them to illuminate the tree. In the big picture, the whole tree is illuminated and it’s being shown off in all of its beauty. Essentially, it’s the easiest way to illuminate this tree while still accomplishing a positive effect. While still very effective, we can probably do a little better and create a little more interest within this scene.
Grazing:

In this photo, were aiming for a different effect. We’re looking to create interest and we’re looking to enhance the limb structure. This is what makes the live oak tree so unique and a focal point within many lowcountry landscapes. Live oak tree limbs tend to sprawl and crawl in their own way. This makes them so unique and quite honestly, so much fun illuminate.
For the “grazing” technique, we’ve positioned three up lights closer to the tree than what you see in the previous photo and focused on the limb structure of the tree. This allows you have a better visual of the detail of the tree and limb structure.
Tree Mounted Up & Down Lighting:

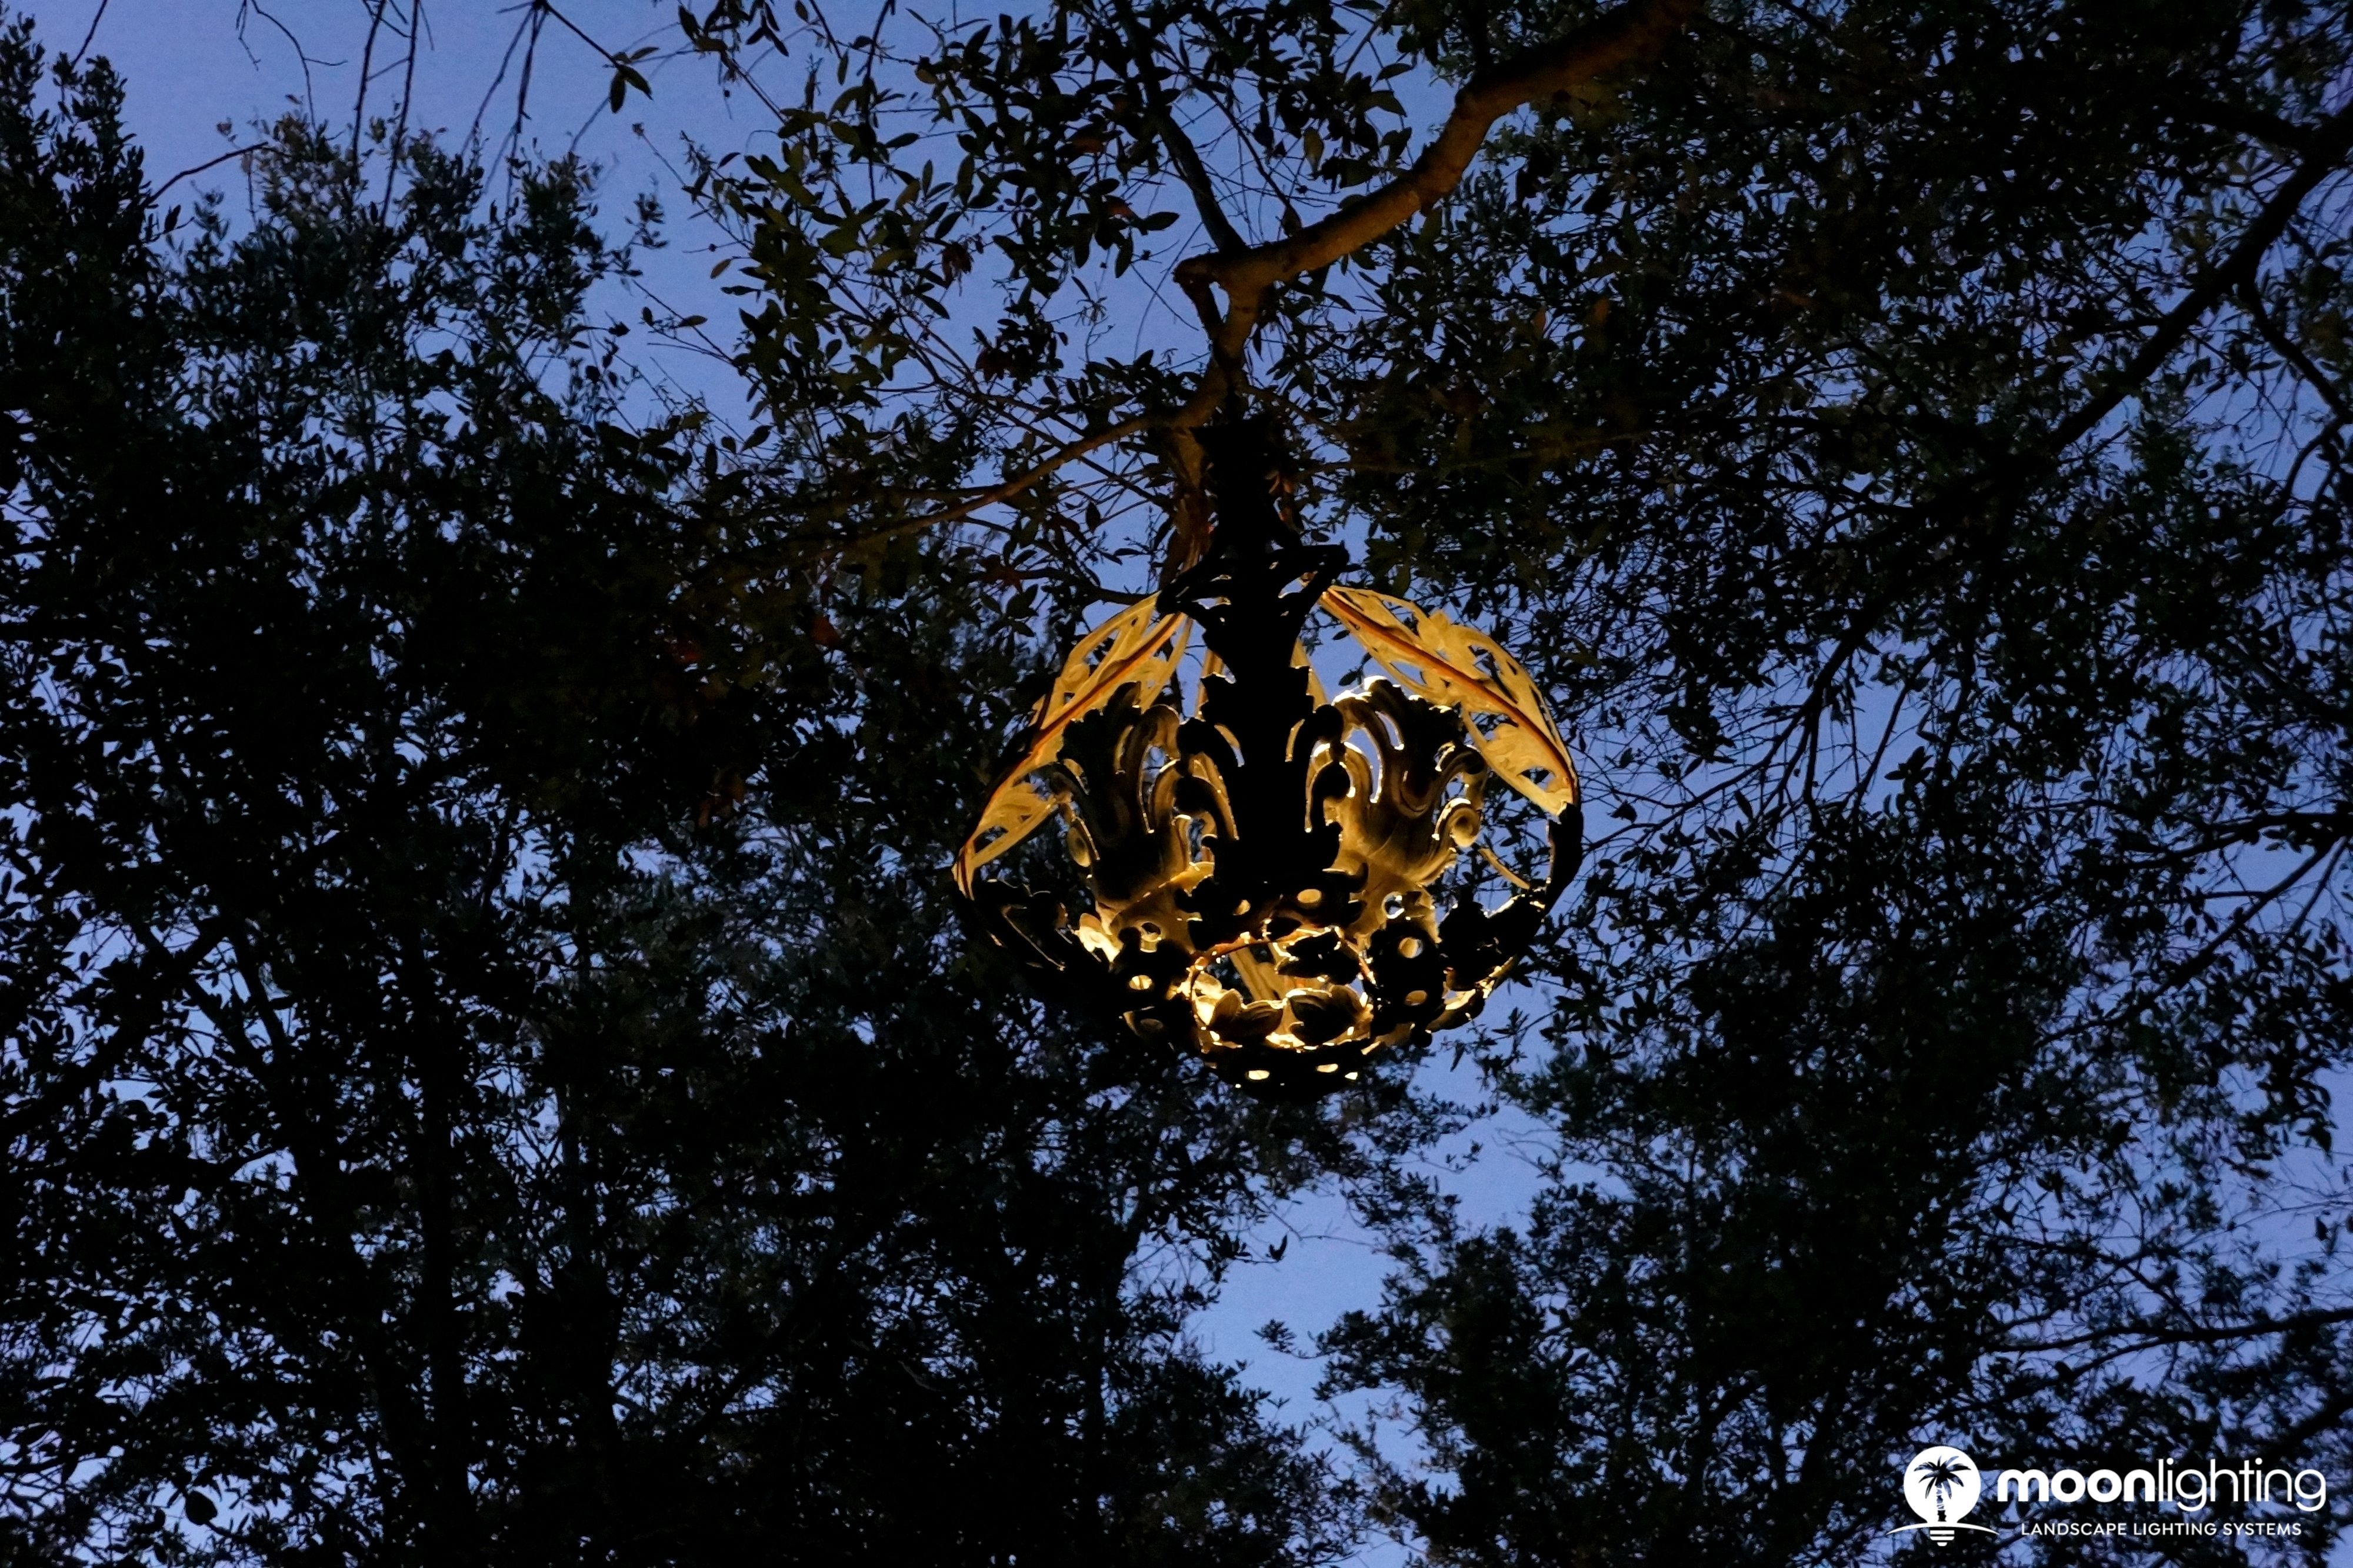
Let’s say this tree is in a high traffic area and we need to keep fixtures off the ground so they don’t become a hindrance, thats where this technique comes into play. In this photo, the oak is illuminated with fixtures all mounted within the tree itself. We have two fixtures mounted about 15′ up, aimed up into the canopy while we have three down lights, mounted at about 35′ aimed down. One is aimed through the center of the tree, picking up the trunk while the other two are picking up the right and left side of the tree. The down lights as a whole create some great shadowing on the ground plane below. We’re again focusing on the detail of the tree and further enhancing what makes the oak tree the specimen tree that it is. What we’re accomplishing here is illuminating the top parts of the limbs that cannot be picked up by just simply up lighting.
By combining up lighting and down lighting, we’re painting a multidimensional picture as opposed to the one dimensional technique you see with the first two techniques.
If you want to see this in person… you can find it at the Addlestone Library on the College of Charleston campus where it permanently illuminated with technique No. 3 (tree mounted up and down lighting.) Because it is in fact in a very high traffic area, that is why we elected to design with this method.

Contact our office today and schedule a consultation with one of our award winning designers and learn more about how Moonlighting can assist in creating a custom landscape lighting design for your home or business.
Be sure to also follow Moonlighting on Facebook, Instagram and Houzz to keep up with our daily happenings!
